
View full article
If you receive new leads in an email, setting up a Zapier Email Parse allows the data from the email to drop automatically into your Blitz account.
Prerequisite: You need to have a Blitz Web form set up in order to capture the data. If you haven’t done so already, click here to create a webform. When creating the webform, make sure you checkbox ALL of the fields to use in the webform.
This Setup has two parts that this page will break down:
Part I Setting up the Zapier Email Parser. It is actually separate from Zapier and Free.
- https://parser.zapier.com/
Part II Setting up the Zapier webhook. This may have cost depending on how "zaps" or translations zapier needs to do per month.
- https://zapier.com/
PART I - How to set up the Email Parser
1. Go to https://parser.zapier.com/ and sign up.

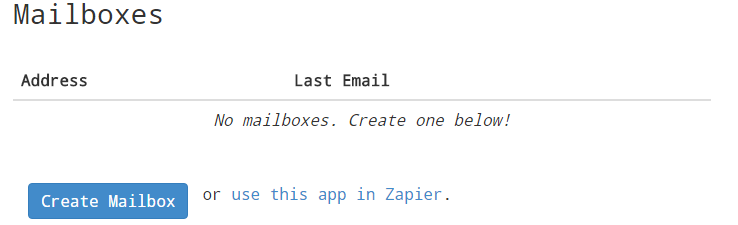
2. Once you have an account you'll need to create a new mailbox.
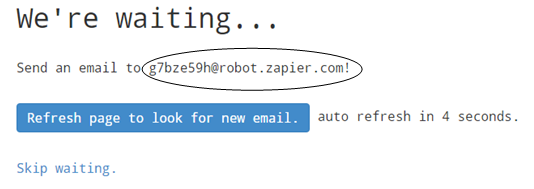
3.Send/forward the email with the lead you wish to parse to the new email address it is provided to you. Note: It will not be the same one above. It is important to try to get as close to the original email as possible.
Example Email Forward
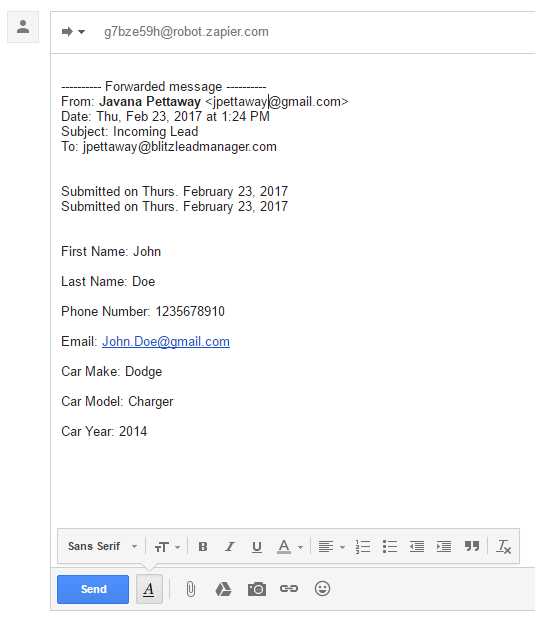
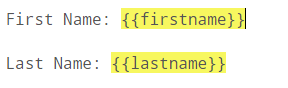
4. Once it receives an email you want to highlight the information you wish to be parsed out.
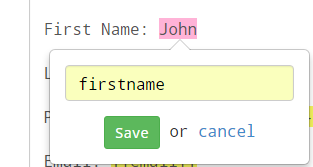
6. Type a name for what you want to call the piece you are cutting out. Then save it. Remember what you named this information you'll need it for later.
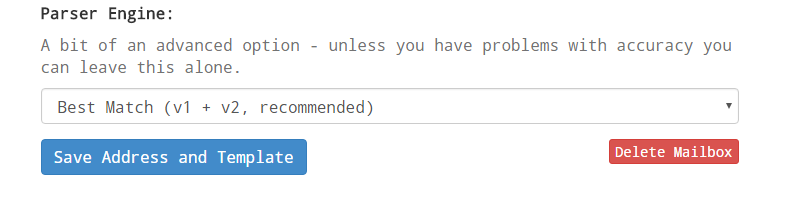
7. After you have all your fields done and Save the template. You will not have to change the parser engine.

PART II - Linking to Blitz Webform
This part requires a zapier account, which is different than a zapier parser account.
1. Go to https://zapier.com/ and make an account. Choose the free account for now, no need to pay yet, plus you want to make sure it works correctly first.
2. Click "Make a Zap !"

3. Choose the Trigger App. In this case it is the Zapier Email Parser.

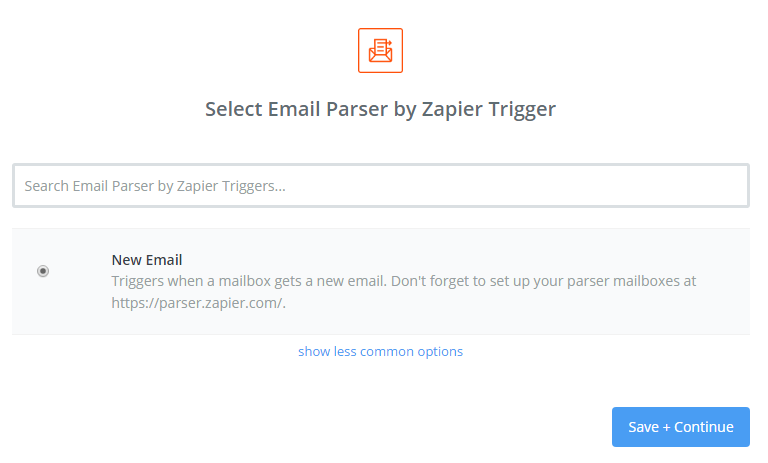
4. Choose the New Email Trigger and click save + Continue
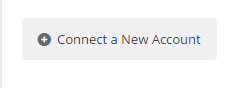
5. Click Connect a New Account. Then Click Authorize. It may have you login to your Zapier Email parser at this point.
6. Log into the Zapier Parser account. Then select it and move on to the next step.
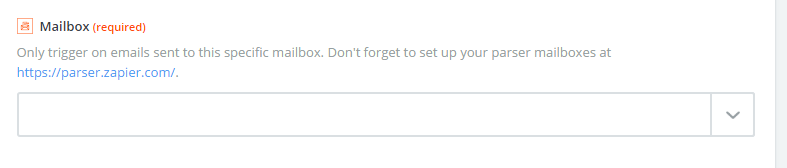
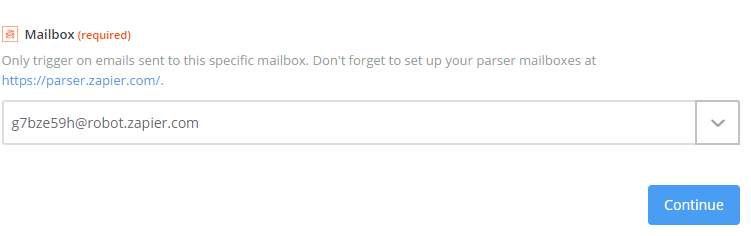
Now, Choose the mailbox you set up in step I.
7. Then Continue.
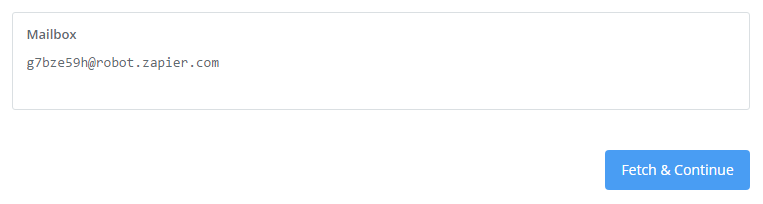
8. It will want to test things. Click Fetch & Continue.Then Continue Again.
9. Once the test is done it will have you choose your ACTION app. Which is going to be the Webhook by Zapier.

10. Use the POST action. Then Click Save + Continue.

11. You will probably have to try this step a few times so do not get discouraged if something is not working correctly the very first time. You will be using two parts out of this section. URL and Data.
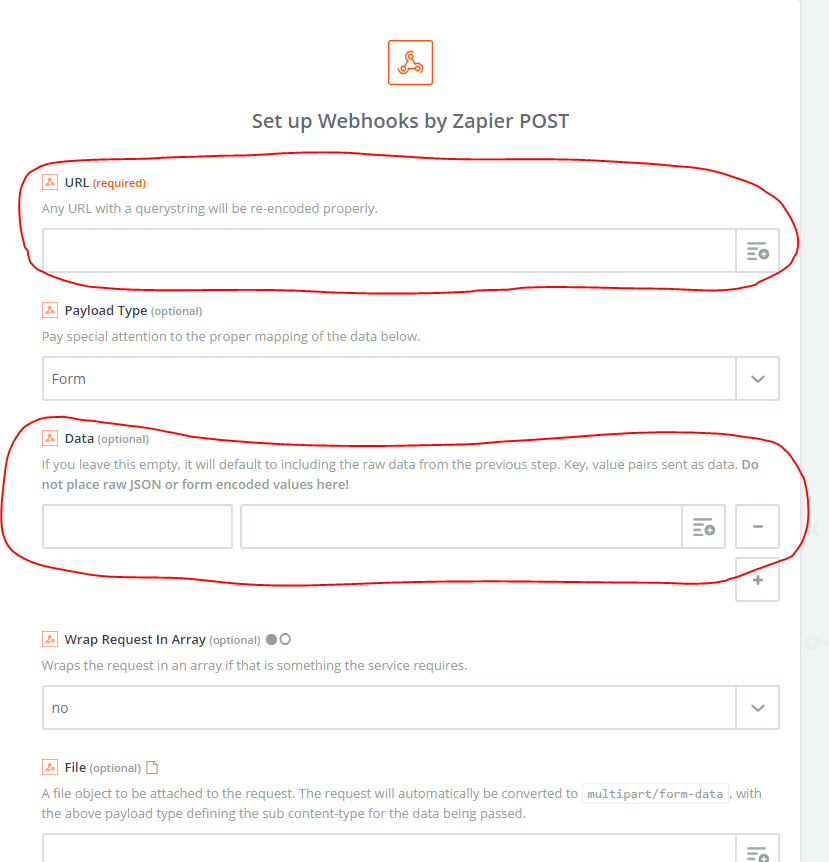
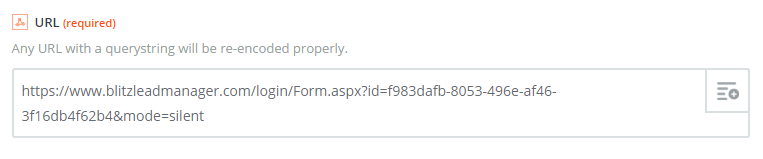
12. In URL, you need to paste the webform URL. After you paste it in you will need to add &mode=silent to the very end of the URL. The webform url should now look like this:
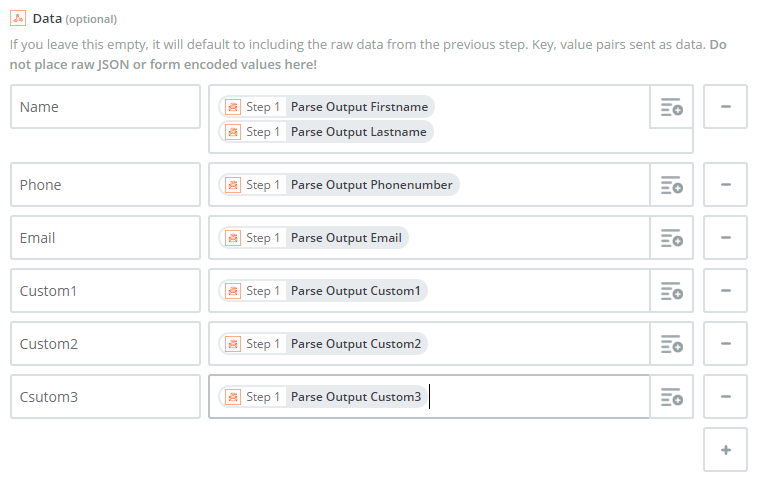
13. Now to fill out the DATA section. By clicking the ![]() icon you will use that to view all the fields that the parser is looking at. You want to match them up with the Webform fields by typing the name of the webform field in the left. It is very picky, the capitalization and the spacing are typically problems. The exact syntax is going to be at the bottom of this page, you can simply copy and paste, it will make things easier.
icon you will use that to view all the fields that the parser is looking at. You want to match them up with the Webform fields by typing the name of the webform field in the left. It is very picky, the capitalization and the spacing are typically problems. The exact syntax is going to be at the bottom of this page, you can simply copy and paste, it will make things easier.
14. Once you have things linked in the way you would like you must move to final step and test. Click Continue, to confirm a test was successful. Blitz will treat the lead like a web lead.
15. Now that you have completely set up the parse, the emails to be parsed need to be forwarded to email parser for the leads to be delivered to Blitz. Get the email address from Part I step 2 (example: xxxx@robot.zapier.com) and set up email forwarding through your email provider. You'll want to set it up so every time you receive one of the emails, it automatically forwards to this email address.
Here are the webforms fields For Help:
Name – Required, Text, Max Length 255 characters
Address1 – Text, Max Length 100 characters
Address2 – Text, Max Length 100 characters
Address3 – Text, Max Length 100 characters
City – Text, Max Length 100 characters
State – Valid US State or CA Province, Max Length 2 characters
ZipCode – Valid 5 or 9 digit US Zip Code or CA Zip, Max Length 10 characters
Country – Valid Country Name
Phone – Valid US or CA phone number if No Country is specified, or International number if a Country is specified, Max Length 20 characters
Ext – Numeric, Max Length 5 characters
Fax – Valid US or CA phone number if No Country is specified, or International
number if a Country is specified, Max Length 20 characters
Email – Valid Email Address, Max Length 100 characters
WebSite – Valid Website, Max Length 255 characters
Description – Text, Max Length 300 characters
ContactName – Text, Max Length 50 characters
Revenue – Text, Max Length 50 characters
ContractDate – Date (MM/DD/YYYY format preferred)
Custom1 – Text/Date/Dropdown, Max Length 255 characters
Custom2 – Text/Date/Dropdown, Max Length 255 characters
Custom3 – Text/Date/Dropdown, Max Length 255 characters
Custom4 – Text/Date/Dropdown, Max Length 255 characters
Custom5 – Text/Date/Dropdown, Max Length 255 characters
Custom6 – Text/Date/Dropdown, Max Length 255 characters
Custom7 – Text/Date/Dropdown, Max Length 255 characters
Custom8 – Text/Date/Dropdown, Max Length 255 characters
Custom9 – Text/Date/Dropdown, Max Length 255 characters
Custom10 – Text/Date/Dropdown, Max Length 255 characters
Custom11 – Text/Date/Dropdown, Max Length 255 characters
Custom12 – Text/Date/Dropdown, Max Length 255 characters
Custom13 – Text/Date/Dropdown, Max Length 255 characters
Custom14 – Text/Date/Dropdown, Max Length 255 characters
Custom15 – Text/Date/Dropdown, Max Length 255 characters
Custom16 – Text/Date/Dropdown, Max Length 255 characters
Custom17 – Text/Date/Dropdown, Max Length 255 characters
Custom18 – Text/Date/Dropdown, Max Length 255 characters
Custom19 – Text/Date/Dropdown, Max Length 255 characters
Custom20 – Text/Date/Dropdown, Max Length 255 characters
Notes – Text, Max Length ~16M characters
Comments
0 comments
Please sign in to leave a comment.